(Last updated on January 30th, 2023)
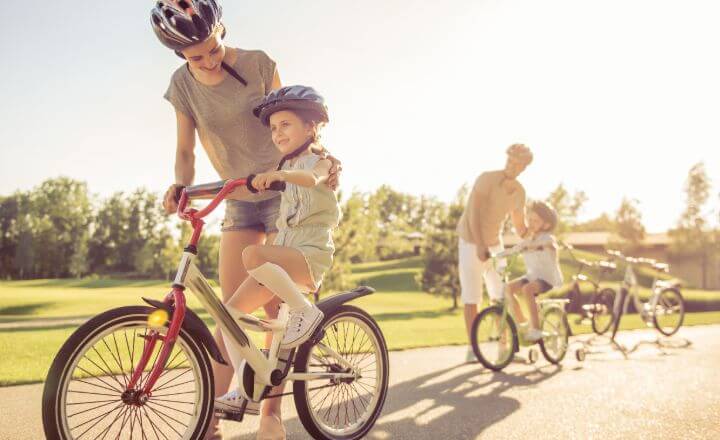
Bikes are a huge amount of fun, and there’s nothing like learning how to ride for a child. Being able to go much faster than normal on pedal power is very exciting, and we believe cycling can be great for children for many reasons. We believe it’s important for children to learn how to cycle early as it can help them with motor skills, teach road safety, inspire them, help them make new friends, and give them confidence.
In this article, we’re going to tell you why it’s beneficial for children to have the correct size bike, how to make the correct adjustments when you have that bike, and also how much is a good amount to spend on kids’ bikes, along with other questions we get asked.
- Why Is It Important for a Child to Be on the Right Size Bike?
- Why are Kids' Bikes different from Adults' Bikes?
- So How Do You Find the Right Size for Your Child?
- Size up or Size Down?
- How Long Should My Child Use Training Wheels?
- Bike Testing
- How Much Should I Spend on a Kids' Bike?
- Conclusion
- Frequently Asked Questions
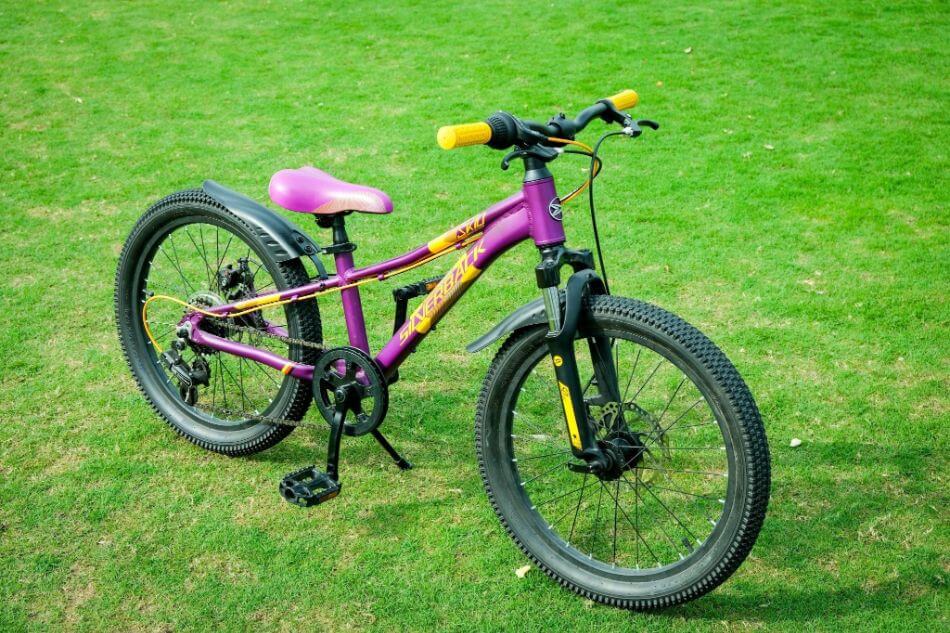
Why Is It Important for a Child to Be on the Right Size Bike?
One thing that you have to be mindful of is getting the correct size bike for your child or children. Although many people think as long as they can sit on it, it will be ok. There are many reasons why the size must be correct such as;
Balance Control
The first thing to mention is balance control. If the bike is the wrong size, it can be too difficult for your child to balance. The correct size bike will offer balance and control for the rider and means there’s less chance of crashing.
Give You the Correct Saddle Height
The next thing to think about is getting the correct knee height. Like with adults, if you’re riding your bike with the incorrect saddle height over time, it can cause pain not just in the knees but also in the hips, calves, lower back, and even ankles.
Create Better Cycling Efficiency
The next thing to think about is pedaling efficiency. If your child is using the wrong size bike and is not properly fitted, then they will struggle to pedal properly. With no efficiency comes extra fatigue and a much less pleasant experience.
Make Riding More Comfortable
Having the correct size bike will be comfortable for children. It means they will be able to ride further, enjoying longer rides with family and friends, and also making the experience of cycling much more enjoyable.
Why are Kids’ Bikes different from Adults’ Bikes?
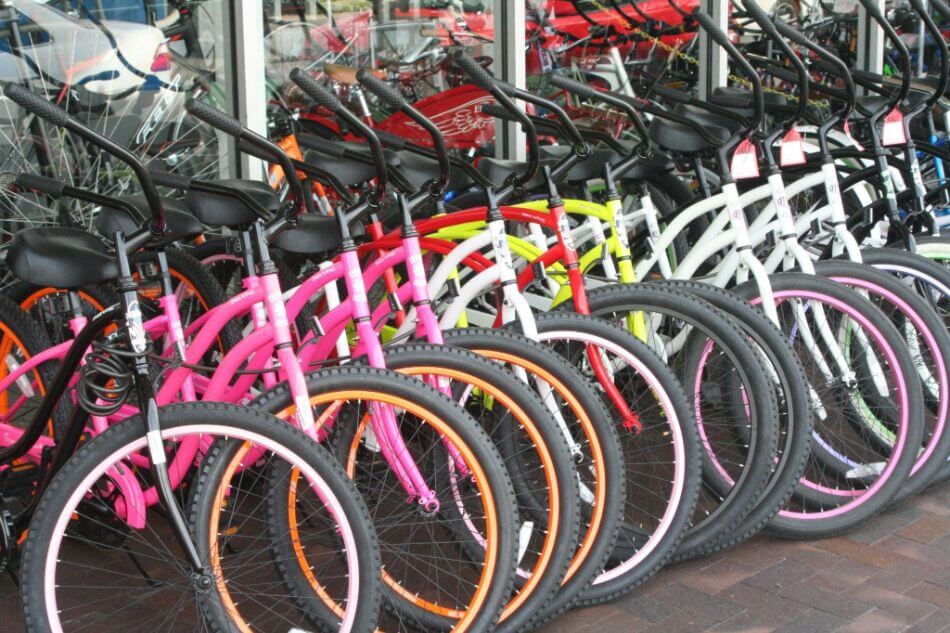
Many adults forget how different kids’ bikes are from adult bikes. There’s a lot more variety to choose from, and it’s not as simple as just buying what’s in stock. To understand this, firstly we need to speak about the different styles of bikes:
- Balance Bikes
- Mountain Bikes
- Road Bikes
- City Bikes
- Hybrid Bikes
Then alongside these different types of bikes, you also have different components. The main thing when it comes to kids’ bikes are wheels sizes such as:
| 12” | 14” | 16” | 18” | 20” | 24” |
Then you also have the stand-over height to think about too. This is typically measured in the inseam of the child. You will see sizes such as:
| 15” – 18” | 16” – 20” | 19” – 25” | 25” + |
So How Do You Find the Right Size for Your Child?
As you can see above, finding the correct size bike for your child is quite complicated. How do we go about picking? Next we’re going to tell you a few different ways to size a childs bike. A general fit, a good fit, and the perfect fit.
A General Guide
Below is our estimated sizing chart. As you can see, there are many options to choose from depending on height and age. As we know, bikes are all very different, and so are children, so it can be challenging to match up even using a guide like this.
| Age | Height | Inseam | Wheel Size |
| 1-3 | 36” – 39” | 15” – 18” | 15” – 18” |
| 2-4 | 37” – 44” | 15” – 20” | 14” |
| 4-6 | 41” – 48” | 16” – 22” | 16” |
| 5-8 | 45” – 54” | 19” – 25” | 18” |
| 7-11 | 49” – 59” | 23” – 28” | 20” |
| 10+ | 56”+ | 25”+ | 24” |
Using a chart like this will give a rough sizing, but depending on the bike manufacturer, you might find these won’t match up. So this chart is great for a rough fit, but if you’re looking for a good fit, follow the next steps.
A Good Fit
So instead of just roughly picking a bike, you want to get a good fit for your child. This is a bit more technical but can be done in less than 10 minutes. Getting a good fit relies on knowing your child’s inseam. To find this out, we will need to measure the inseam.
Step 1: Get everything you need
To measure an inseam, you are going to need three things. You will first need a clear wall on which your child can stand against, a measuring tape, and a book.
Step 2: Stand the child against the wall
Stand your child with their back straight against the wall and with their feet flat on the floor. We recommend doing this wearing the shoes they plan to be cycling in.
Step 3: Measure
Get the child to place the book in the crotch area. Then you’re going to want to measure the inseam, which is from the floor to the top of the book. Then make a note of this measurement as this is their inseam.
Now you have the inseam measurement. You can start looking at bikes. Then using the manufacturer’s guidelines, you can select the bike size from the inseam and height measurement, not the typical general wheel size or age measurement. This is going to give a much better fit for a child.
A Perfect Fit
The perfect fit doesn’t just come from having the correct bike size for your child. It actually comes from making adjustments on the bike too. Getting the perfect fit will take a little bit more time but will be well worth it in the long run. Here are our steps to get the perfect fit.
Step 1: Measure and get a bike
The first step is to measure the inseam of the child and order a bike. You will be looking for a bike that is the correct size and one that you are able to adjust the seat height on. Typically all children’s bikes do have this ability, but we have seen some that don’t.
Step 2: Adjust the seat post height
Now you’re going to need to adjust the seat post height, and unlike an adult, you also need to take into account the ability of your child to ensure it’s right for them. So firstly, measure from the floor to the top of the saddle and match this to the inseam, then make the modification below that best describes the bike and child’s ability.
Balance Bikes
0.5” to 1.5” Below Inseam
Balance bikes are an excellent tool for getting your bike used to what it’s like to ride a bike without them having to use pedals. What is unique about balance bikes though, is you must walk with them instead of pedaling. When setting up a balance bike, you want to go 0.5” to 1.5” below the inseam measurement so they have plenty of grip on the floor with their feet.
Beginner using Training Wheels
0” to 3” Above
If you are setting your child up on a bike with training wheels and are unsure of how high the saddle should be, the correct measurement should be the inseam plus 0” to 3”. For example, if the child’s inseam is 20”, I would start them at 20” from the floor to the top of the saddle. Ensure when on the bike, their feet can sit flat on the floor on each side.
Then, as they become more confident, you would increase the saddle height up every so often. 3” is the maximum before remeasuring the inseam. You start lower, so they find it easier to stop, as kids typically use their feet more to brake when they are new to cycling. We raise the seat as they get more confident and use the brakes more.
Beginners not using training wheels
0” on the Inseam
Setting the seat height correctly for a beginner rider who isn’t using stabilizers is easy. You want to match the inseam and measure from the floor to the top of the saddle. To ensure this is correct, ensure the rider can place both feet flat on the floor while sitting on the bike.
Experienced Rider
2” to 4” above the Inseam
If you have an experienced rider, then you’re going to want to take the inseam and then set the saddle height of the inseam plus 2” to 4” from the floor. To ensure this is correct, the rider should be on their tip toes with both feet to balance the bike still when sitting and not pedaling.
Step 3: Check the Height Regularly
Another thing we highly recommend is to regularly check the rider’s seat height to ensure you are bringing it higher as they grow so they can stay in the correct riding position and not get used to it being too low.
Size up or Size Down?
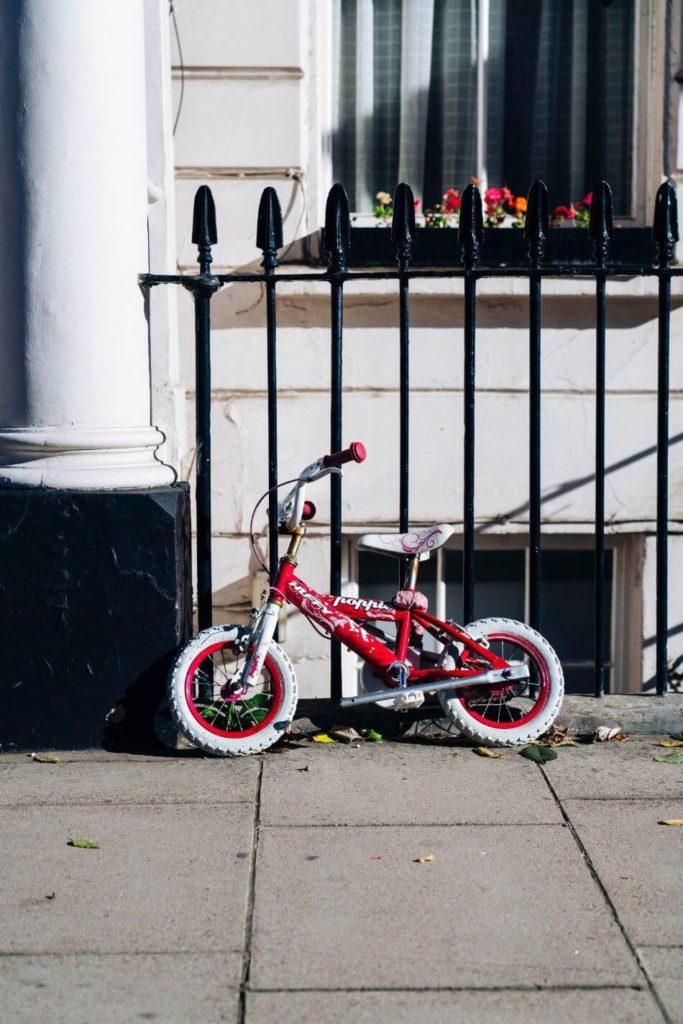
When picking a bike for your child, a common question is, if they fall in between two sizes, do you size up or size down? The best way to go is definitely to size up. This will allow for their growth and means you will get longer before you will need to upgrade their bike to a bigger size.
There are many companies now which will actually do a subscription package where you pay a certain amount each month, and they will rent you the bike, and when your child outgrows it, you can contact them, and they will swap it for the correct size.
You May Also Like:
How Long Should My Child Use Training Wheels?
Training wheels are an excellent tool to help a child ride a bike with confidence and to keep them safe while doing it. We recommend they use training wheels until they feel ready to go riding without, and you’re happy they have enough ability to safely balance. It might take them time to learn how to ride without training wheels but it will be a very fun experience learning.
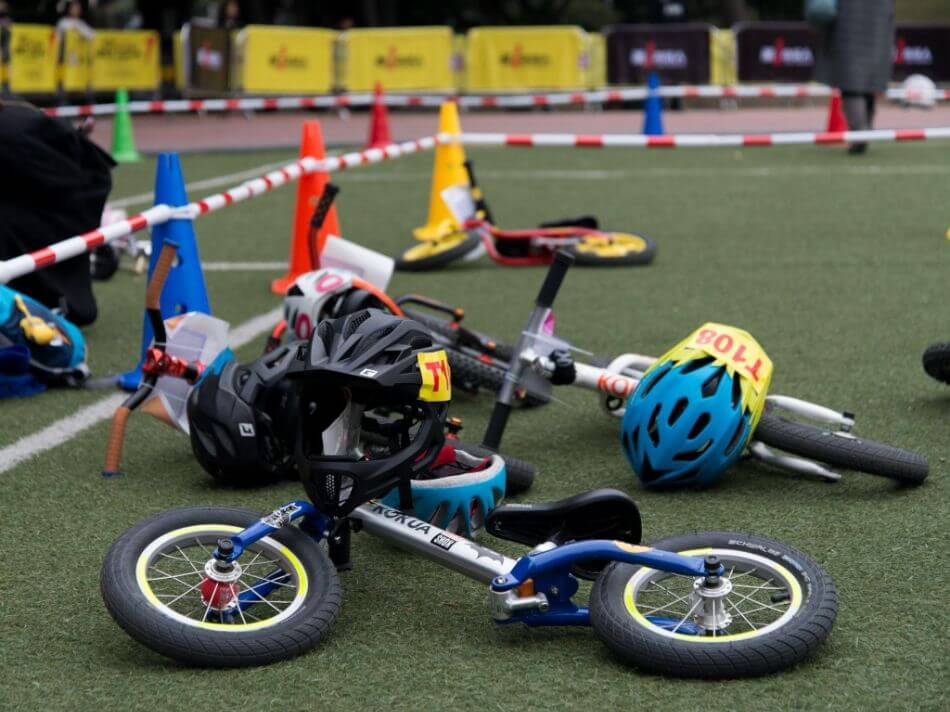
Bike Testing
Something we highly recommend is bike testing. If you’re unsure what bike your child needs, ask other local parents if they will let you borrow the bike for your child to try. You can even go to your local bike shop and try a few different models they might have in stock. You might even consider using a rental bike just to try one for a few weeks.
How Much Should I Spend on a Kids’ Bike?
Childrens bikes come at many different prices. As far as budget bikes go you can spend as little as $100. They won’t be the highest quality and might not last as long as the more expensive bikes but they will work. If you’re looking for the best childrens bikes on the market you can spend all the way up to about $800. For that price they will be excellent and will last forever providing they are maintained. Eventually your child will outgrow them and they will need replacing anyway.
We recommend, providing it’s in your budget, spending around $300 to $500. This will mean you get a great quality bike and also doesn’t break the bank every two years when your child outgrows it.
You also have the secondhand option. Children’s bikes, unlike adult bikes, don’t seem to resell very well, so always expect not to see much of your money back. This means you can get some amazing bargains buying children’s bikes second hand, but we recommend having them checked by a bike shop.
Conclusion
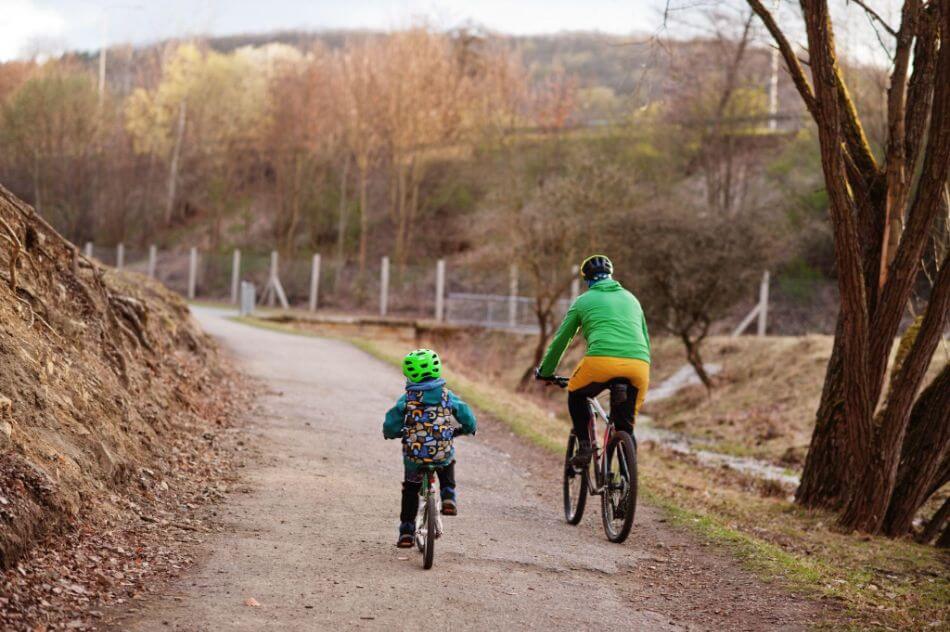
Getting the correct size bike for your child or children is very important. It will make them enjoy cycling more, be much more comfortable for them, and help them grow into bikes and keep a correct riding position throughout their cycling life. Thanks for reading!
Frequently Asked Questions
A twenty inch kid’s bike is best made to suit the ages of 7 to 11 years old.
Typically sizing is done by the diameter of the wheel. It will range from a 12” to a 24”
It’s not recommended as the bike will be too large, and not only will it be uncomfortable, but they might struggle to balance.
Typically between 3 and 7 years old, but every child is different.

I’m Robbie Ferri, a writer from Norfolk in the UK. I love cycling, the gym, and have a huge passion for sharing my stories and knowledge to anyone with the time to read them. My main passion is cycling. I started eight years ago. In that time I have broken world records, cycled all over the world in Ultra Bikepacking races, and am lucky enough to have enjoyed some incredible times on two wheels with some incredible people. I have also worked in a bike shop and with some of the industries leading brands, not just promoting products but designing them too.
Under it all I am just someone very passionate about exploration and living a healthy lifestyle. Everything I do I put 100% into it and feel that life is for living. Never should you have a dull day.

